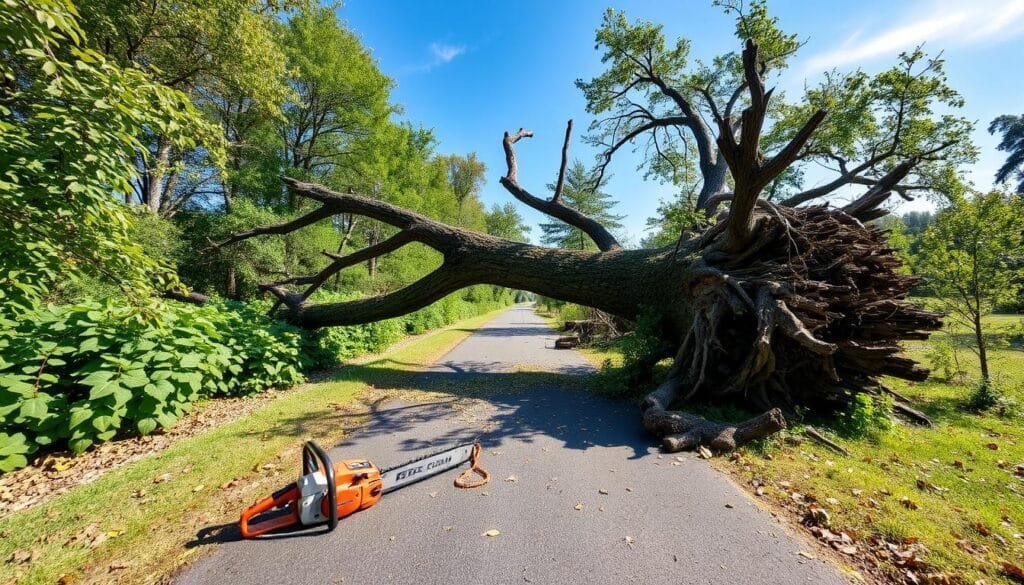
Fallen trees can be a huge hassle. They block driveways, damage fences, and make yards look messy. If you’re staring at a trunk that’s toppled after a storm or from old age, you might be wondering if you really need to pay someone else to clean it up. The truth is, you don’t, not always, at least.
With the right steps, tools, and safety mindset, you can clear that tree yourself. This isn’t about guessing your way through it. It’s about knowing what to do and how to do it right.
Start With a Quick Safety Check
Before touching anything, take a good look at the area. A fallen tree can look harmless at first glance but still pose some serious risks.
Power lines
If the tree is tangled with or near power lines, stop right there. Do not try to handle this yourself. Contact your utility company instead.
Cracks or tension
Trees under tension can snap or roll unexpectedly. If branches or sections look tight or twisted, approach with caution.
Unstable ground
Wet or sloped terrain can make it harder to get traction or balance. Make sure you’ve got solid footing before working.
Once it’s safe to move forward, gear up.
Get Your Tools Ready
You won’t need a garage full of equipment, but you do need some basics.
At the very least, gather:
- Thick gloves to protect your hands from sharp branches
- Eye protection to guard against sawdust or flying bits
- Steel-toe boots for solid footing and safety
- A pruning saw or bow saw for thinner branches
- A chainsaw for thicker limbs and the trunk
If you’re using a chainsaw for the first time, don’t skip reading the manual. Learn how to start it properly, how to engage the chain brake, and how to cut safely.
Remove the Limbs First
Start by clearing the smaller, outer branches. This step makes the entire process more manageable and creates space for you to move around the trunk.
Use your pruning saw or loppers to snip off smaller limbs. Make clean cuts, starting from the outer tips and working inward. As the branches come off, set them aside in a designated pile. Keep your work area tidy to prevent tripping or stepping on hidden hazards.
Don’t yank or twist limbs — cut them cleanly. This reduces the risk of shifting the tree or accidentally damaging your tools.
READ ALSO: How to Construct a Garden Pond: A Comprehensive Guide
Cut and Remove Medium-Sized Sections
Once you’ve cleared the outer branches, turn your attention to the larger limbs connected to the trunk.
This is where your chain saw becomes essential. Before making your first cut, check that the branch is not supporting or holding weight from another part of the tree. You don’t want it to shift suddenly when you cut it.
Follow these basic chainsaw safety tips:
- Hold the saw with both hands
- Keep your feet shoulder-width apart
- Avoid cutting above shoulder height
- Let the chain do the work — don’t force the saw
Make your cuts clean and deliberate. Cut sections into manageable lengths that you can lift and carry. Stack or move them out of the way once cut.
Slice the Trunk Into Segments
With the limbs out of the way, now it’s time to tackle the trunk. This part takes the most effort, but it’s very doable when broken down into pieces.
Start at one end and use your chainsaw to cut slices around 16 to 20 inches long, depending on your strength and what you plan to do with the wood. These segments are easier to move and can even be repurposed for firewood or mulching if you want.
Position your cuts to avoid pinching the blade. You might need to cut from the top down and then flip the log to finish the cut from the other side. If the log is lying unevenly on the ground, wedge a small piece of wood underneath to stabilize it before cutting.
Haul Away or Repurpose the Wood
Once everything is cut into sections, think about what you want to do with the wood. You can:
- Stack it in a dry area for firewood
- Offer it for free to neighbors or community groups
- Use a few trunk slices as garden borders or rustic seating
- Rent a chipper to turn branches into mulch
If you’re planning to haul it away, check if your local waste service accepts yard debris or logs. Some areas have pickup days for green waste or designated drop-off spots.
When to Call It Quits
Even if you’re comfortable using tools and confident in your strength, there are times when clearing a fallen tree isn’t safe to do alone. Don’t hesitate to stop if:
- The tree is massive or tangled with other trees
- Your saw gets stuck and you don’t know how to free it safely
- You start to feel tired or rushed
- You don’t have the right tools to continue
There’s no shame in pausing and asking for help when the situation goes beyond what you can handle on your own.
Clean-Up That Actually Stays Done
After the tree is cleared, take a final walkthrough of the area. Pick up leftover debris, sweep or rake up sawdust, and check for hidden splinters. This not only makes your space look better, it also keeps things safe for pets, kids, or anyone walking through.
Inspect your tools and clean them before storing them away. A little maintenance now will keep them working properly for next time.
The Payoff of Doing It Yourself
There’s something satisfying about handling a big job like this on your own. It saves money, gives you control over the process, and builds your confidence with outdoor work. You also get to decide what happens to the wood, whether that’s using it, sharing it, or recycling it.
Taking care of a fallen tree doesn’t always require calling in a crew. With good judgment, basic gear, and a little effort, it’s completely doable on your own. Just take your time, stay alert, and don’t cut corners.
YOU MAY ALSO LIKE: How Often Should You Replace or Repair a Fence?